This is a project that “started” about four years before it actually got done.
By started, I mean that I, Jason, impulsively bought a bunch of foam insulation with the grand vision of making some tombstones.
Well in the traditional style of a true procrastinator, I didn’t do anything other than have a huge stack of foam for us to have to move repeatedly since its only value was getting in the way for a few years.
But thanks to my amazing, and far more motivated, wife, she managed to knock out several huge tombstones for us for our 2022 season. Below are some photos of various stages and descriptions for what you’re looking at.
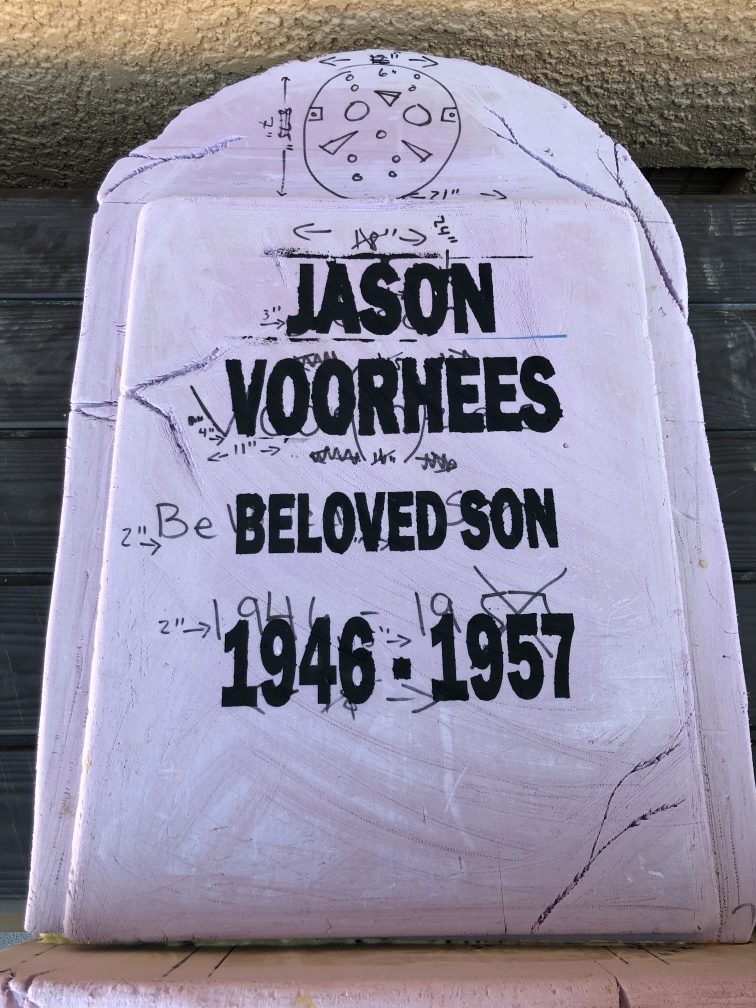
It All Starts Here
A scrap piece of foam insulation and a marker really is about all that’s needed to start this little adventure. Sure, you could just start cutting but Sarah had some pretty specific ideas in mind so she wanted to map out her cuts and designs before going crazy with any kind of cutting device.
Halloween Engineering
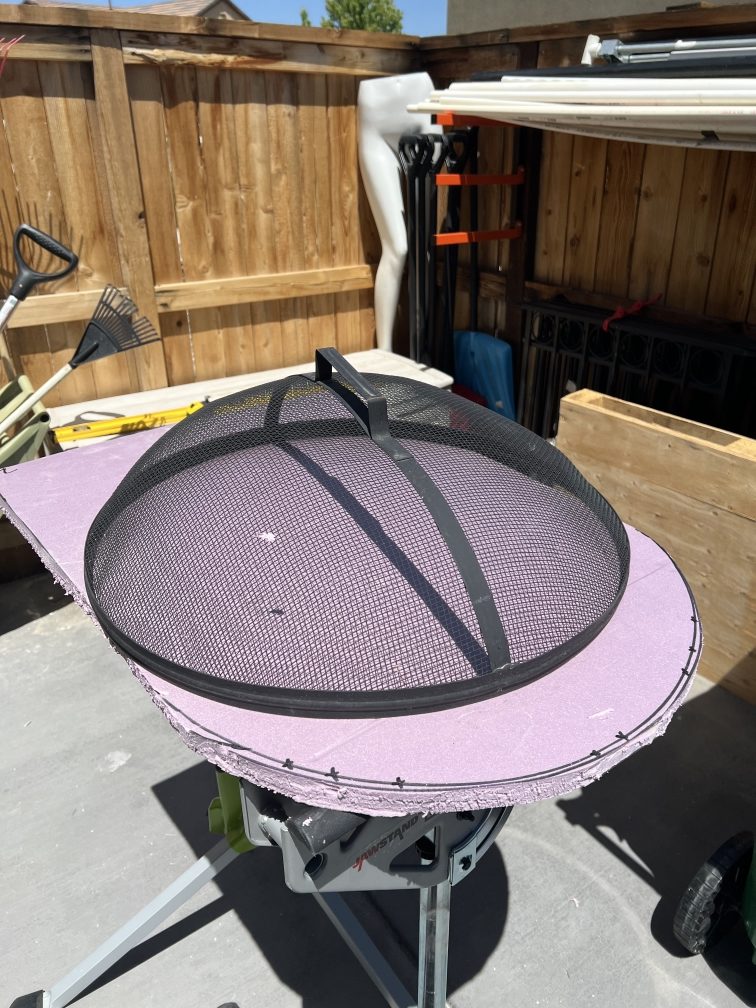
We haunters are very adept in the art of finding alternate purposes for all sorts of things.
Here’s Sarah using the top of a firepit (a firepit that we only use as a cauldron, btw) to make a nice curve on the top of one of her designs.
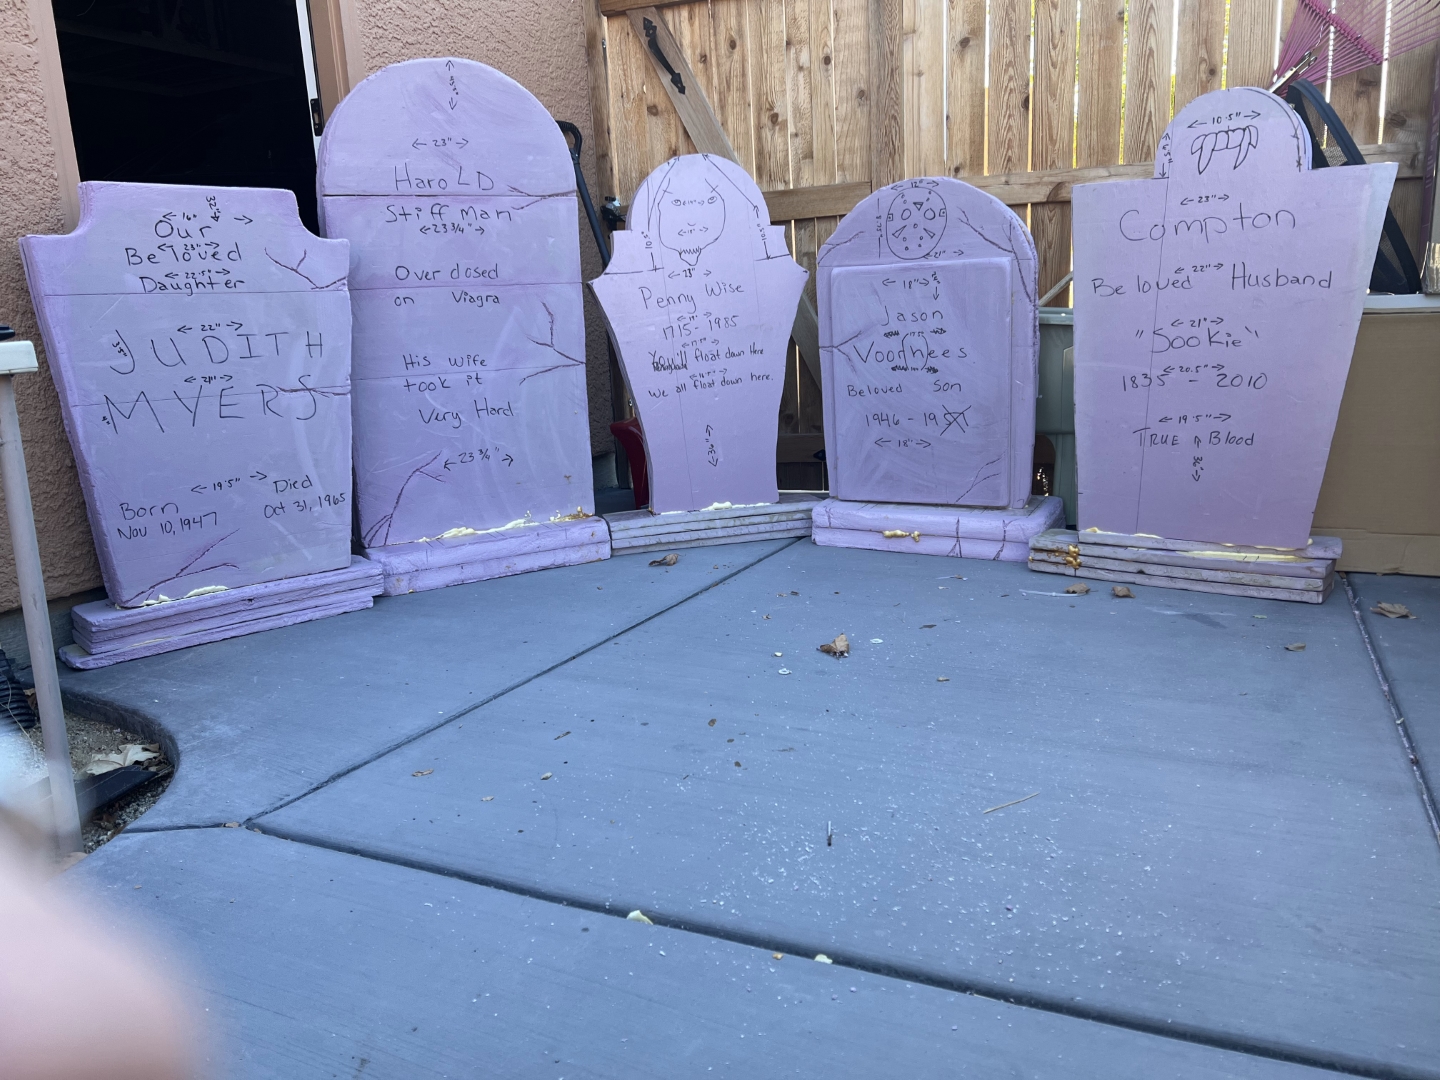
A Few Of The Shapes
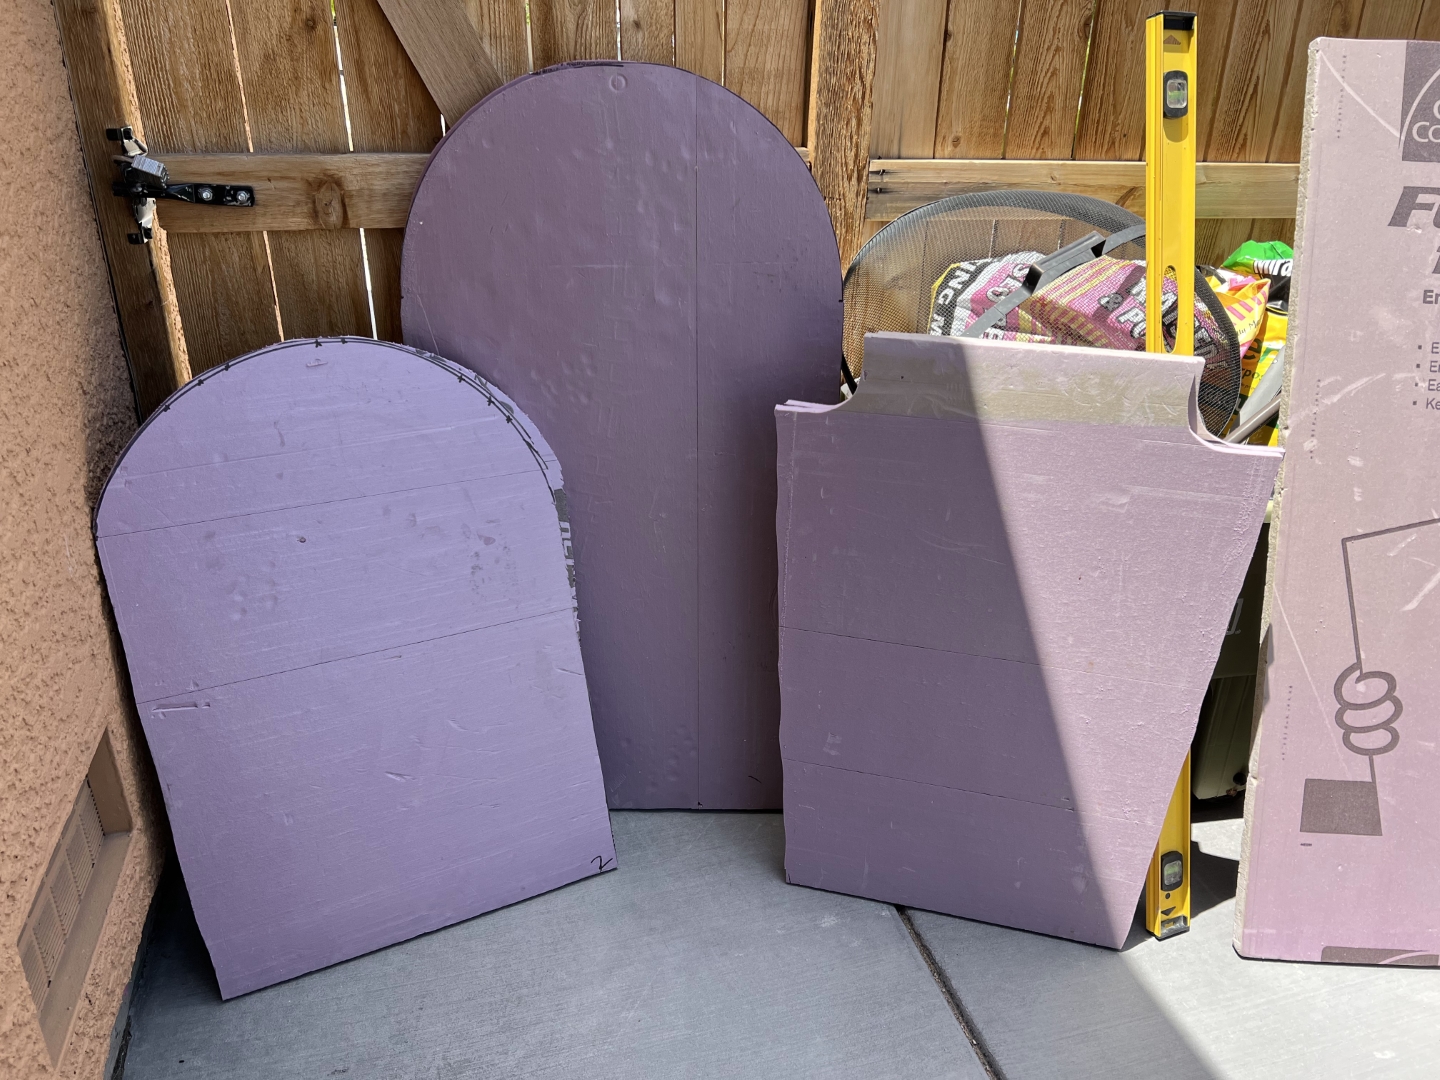
Here’s a few of the shapes that Sarah came up with. She ends up making five total.
Lessons Learned
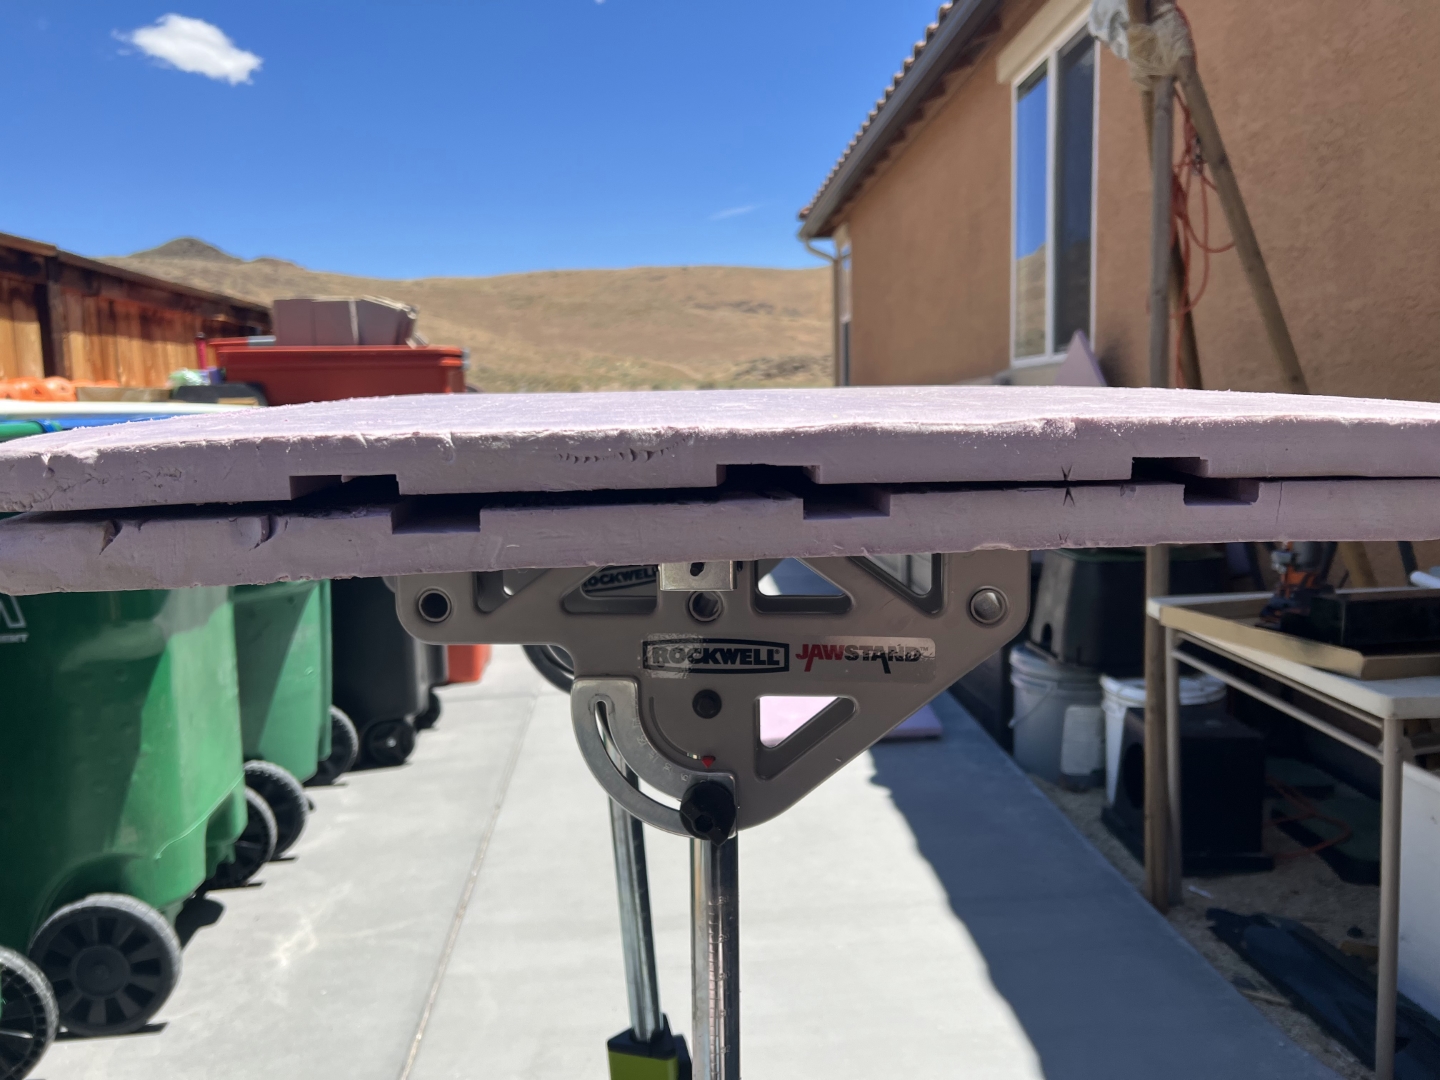
The idea was to double the thickness of the tombstones by layering two of each design on top of each other. They’d be held together by expandable foam.
To make the tombstones ridged, especially with our high winds, 1 1/2″ channels would be cut into the inside of each piece before bonding them together. 1″ PVC pip would be set inside the channels and would run almost the entire height of the tombstone for maximum stability. The PVC would also extend beyond the base to give us something to secure to bases and the ground. The lesson we learned here was that when reproducing the channel cut, you have to mirror the channels or they won’t align once you put the insides to one another. Oops.
Final Shapes
Here’s the final designs of the overall shapes. You can see the PVC pipes extending several inches beyond the bottom.
Bases & Cracks
Here she is adding bases to the bottoms of each tombstone. The PVC runs flush to the bottom of the base.
She has also adding some weathered / cracks into the foam for added effect once painted up.
The Artist At Work
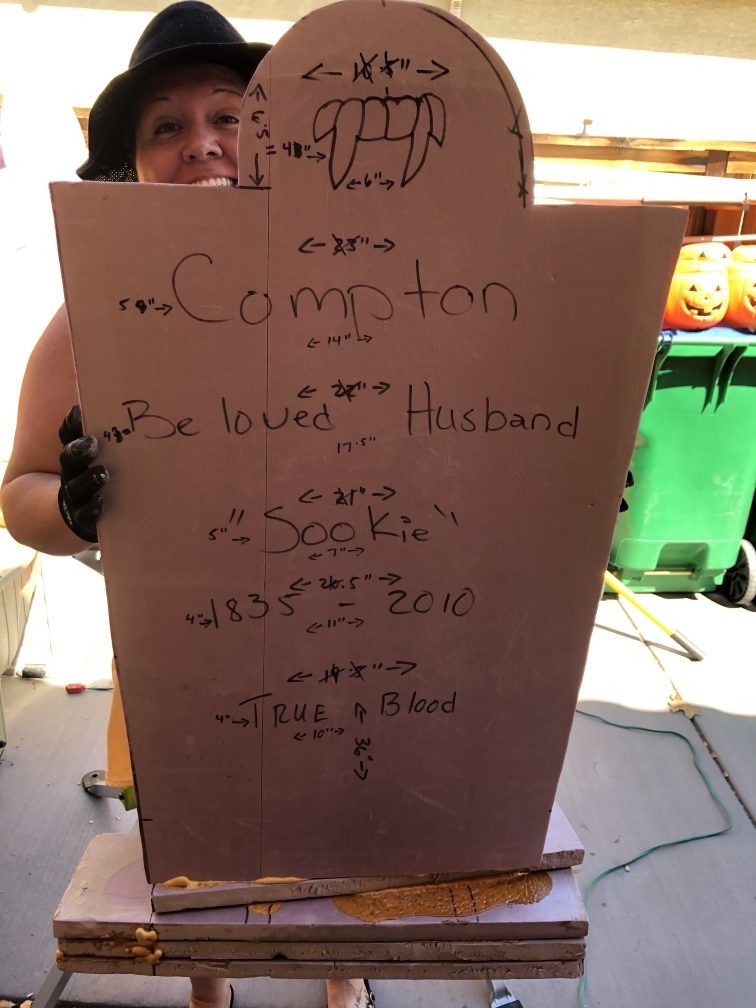
Here’s Sarah in her witch sunhat toiling away on one of the layouts.
After this step, the idea is for me to take her layout and cut vinyl stencil material with our Cricut vinyl cutter to her specs (or as close to it as possible).
I lay up the lettering and graphics in the Cricut design software, print / cut out the stencils, stick them to the foam and paint over the stencil material so that she can then cut out the designs with a Dremel.
Final Designs
Here’s all five of the designs she’s worked up. Now it’s time for me to get busy cutting the stencils out for her to move onto the next step.
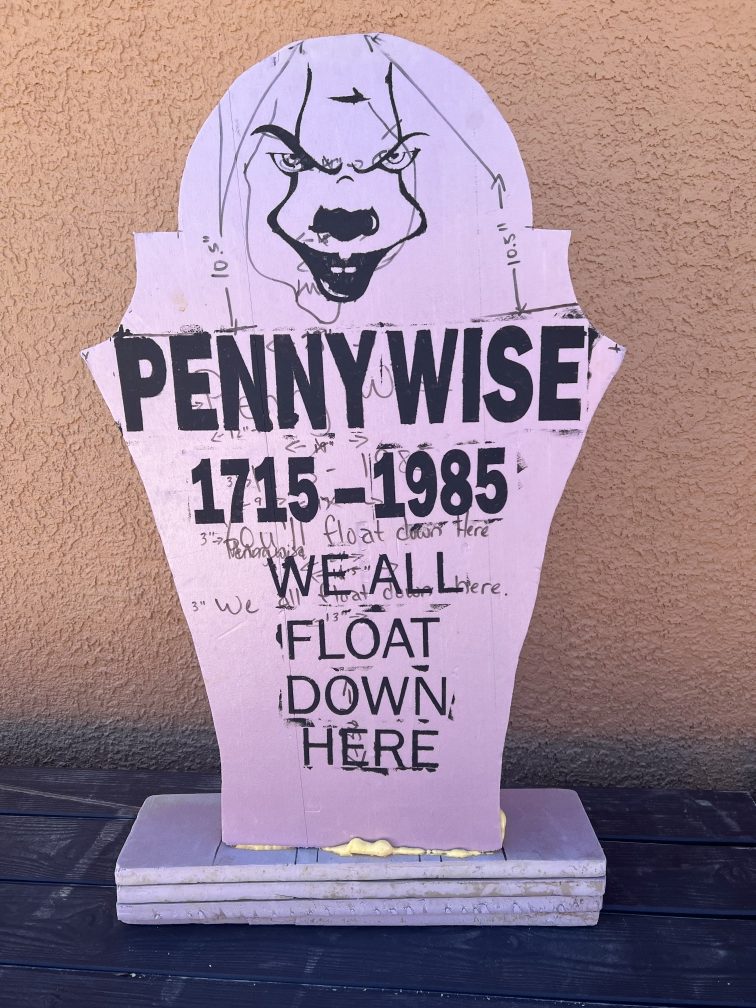
What A Pain That Was!
Lots of revisions had to be done on the lettering sizes and fonts to make things layout ideally.
The bigger pain is that this stencil material SUCKS for sticking to aged and slightly dusty foamboard. But we made it work!
Sarah paints over the stencils with black paint and gets ready to grab a Dremel.
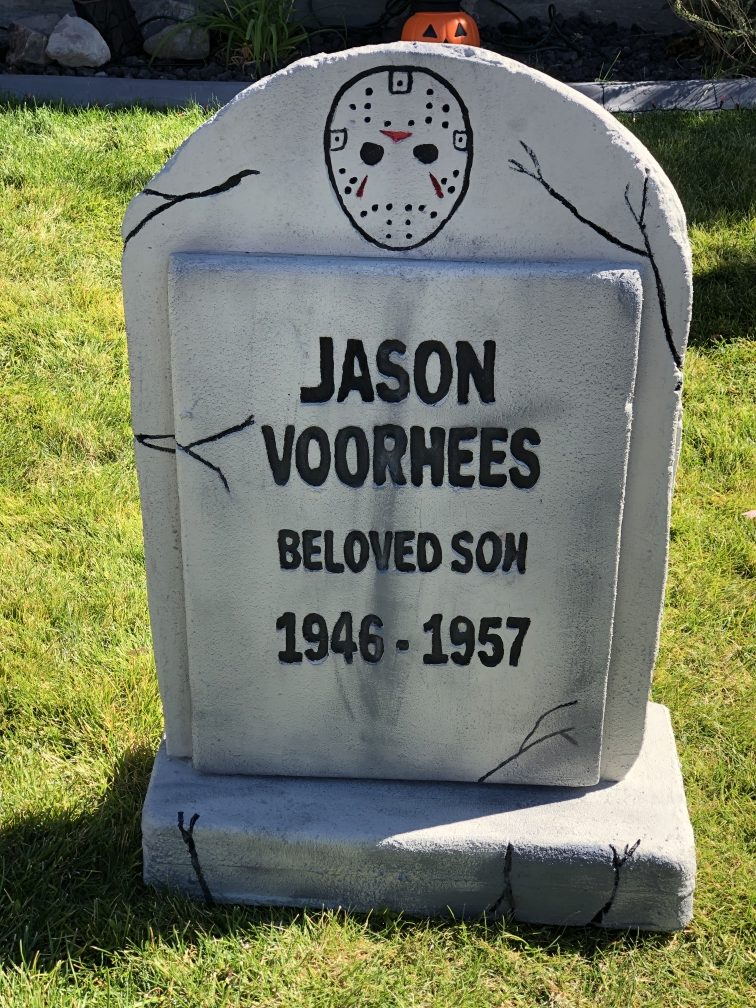
Much Slower Than Imagined
Here’s one of the tombstones after Sarah painstakingly drilled out all of the foam from the stenciled area. This is MUCH slower of a process than she imagined. But she got it and the others done! After they’ve all been drilled out, we cover all of them with a good coating of grey Drylock to weatherproof them.
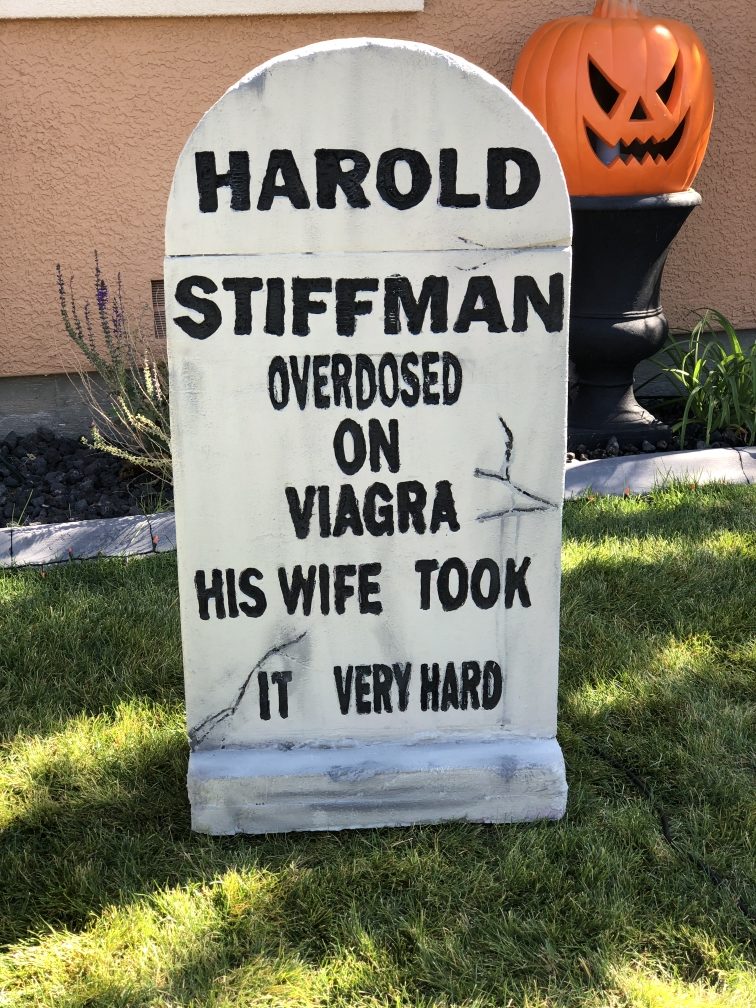
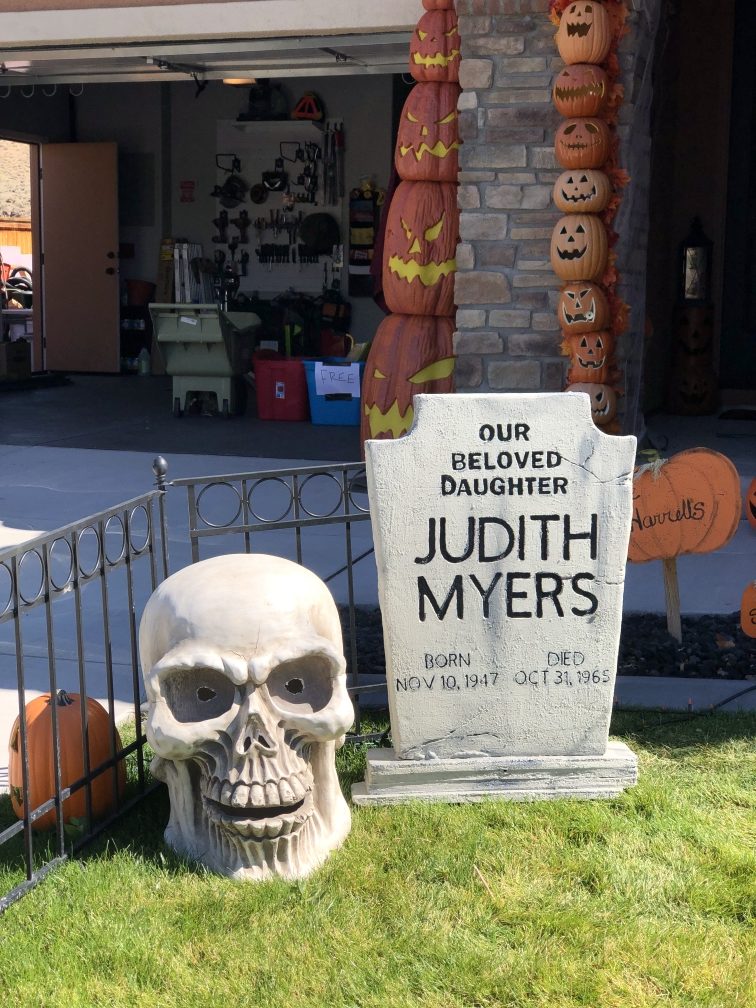
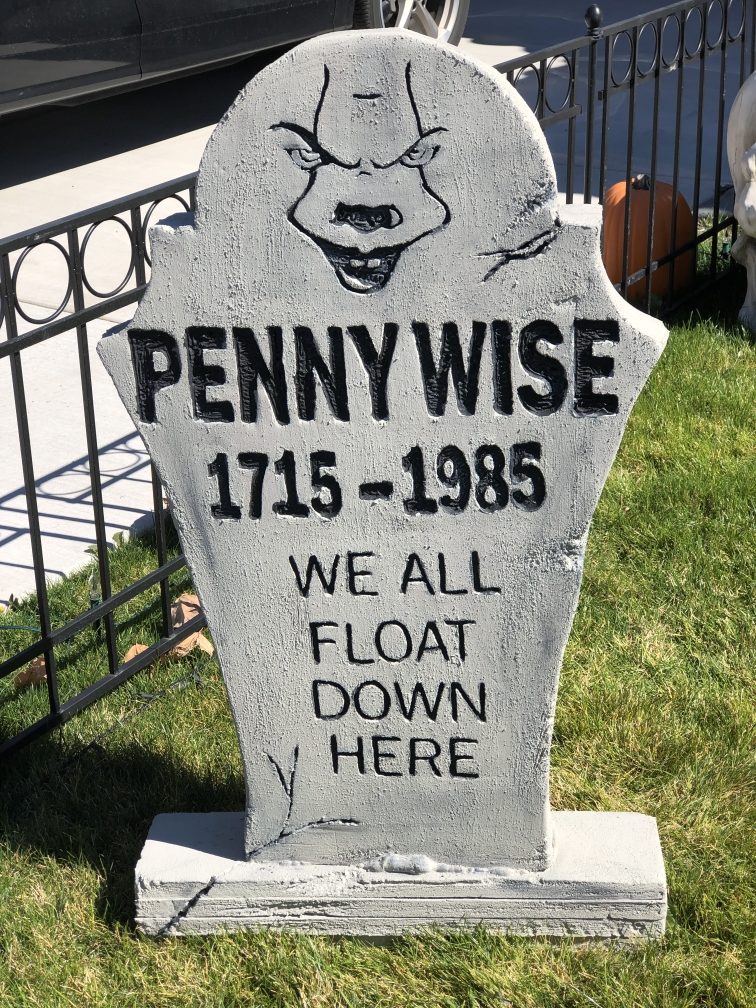
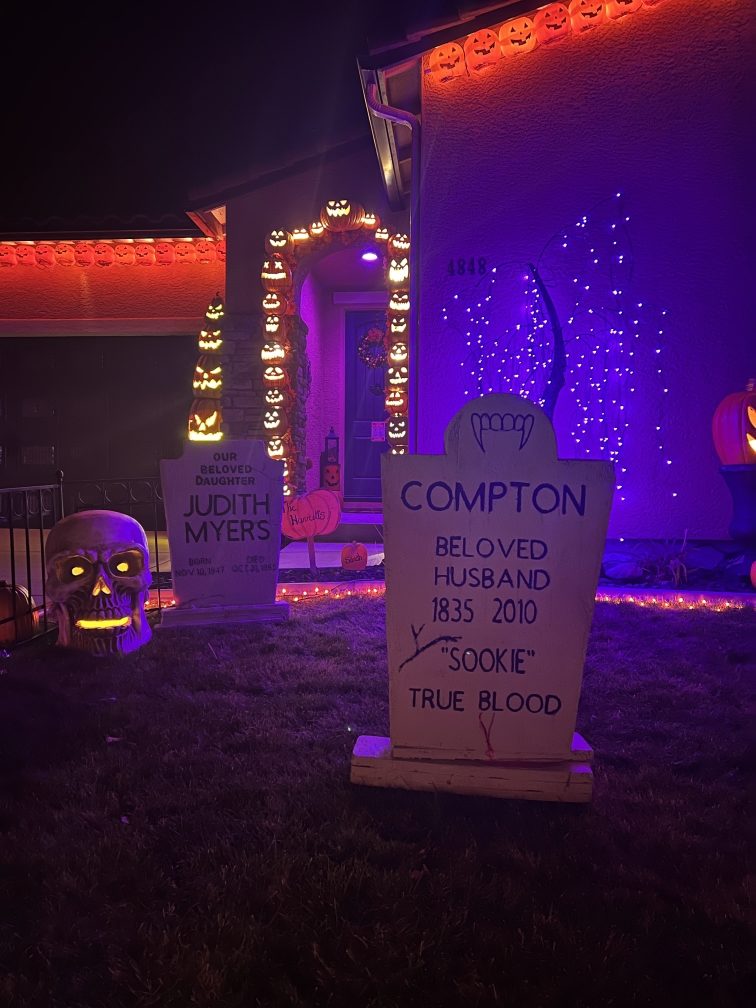
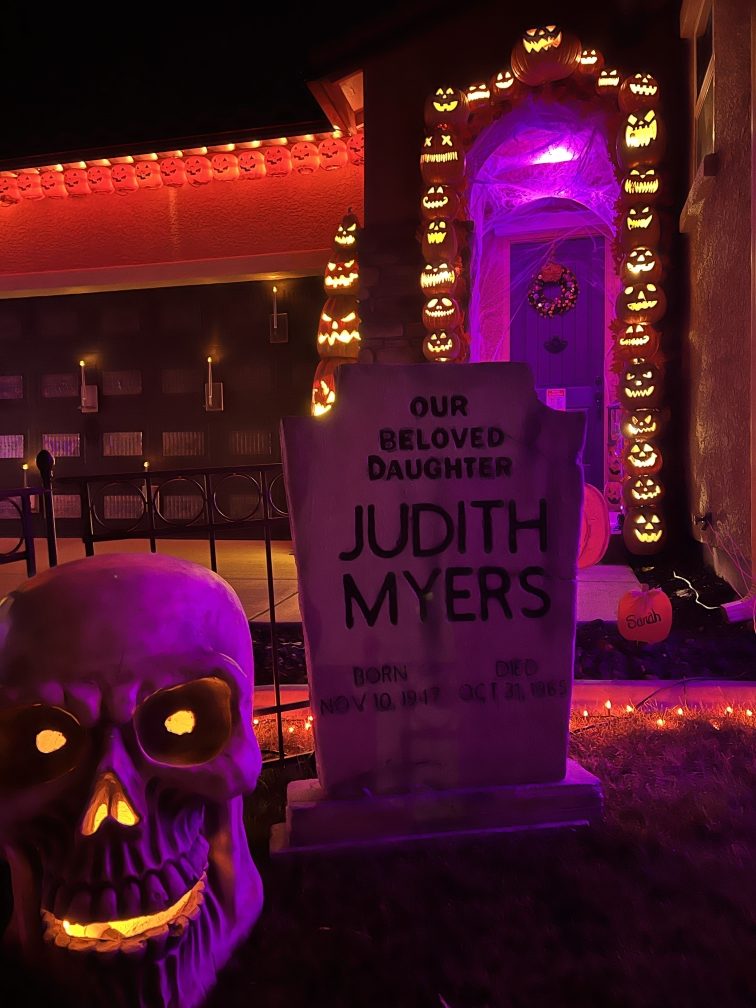
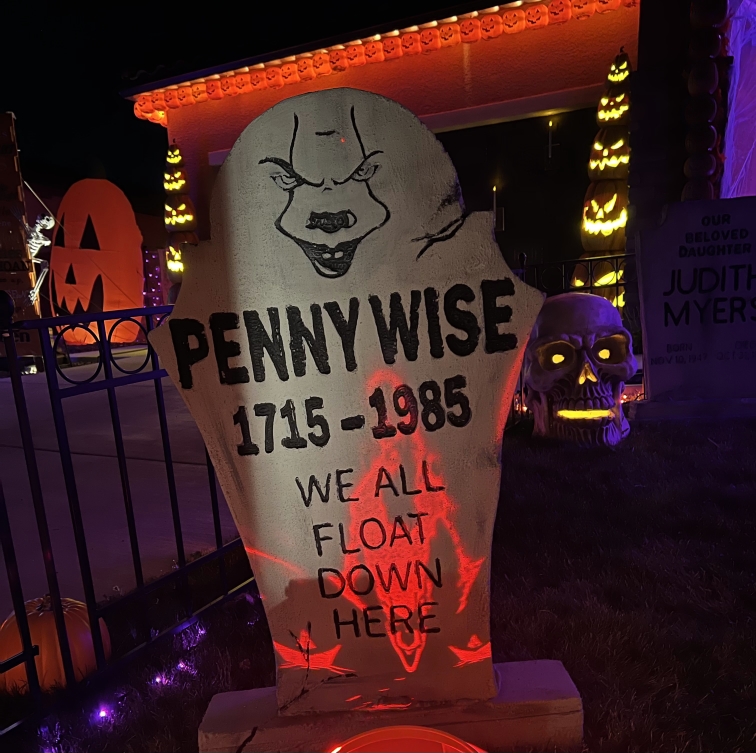
A Bit Of Paint And Done!
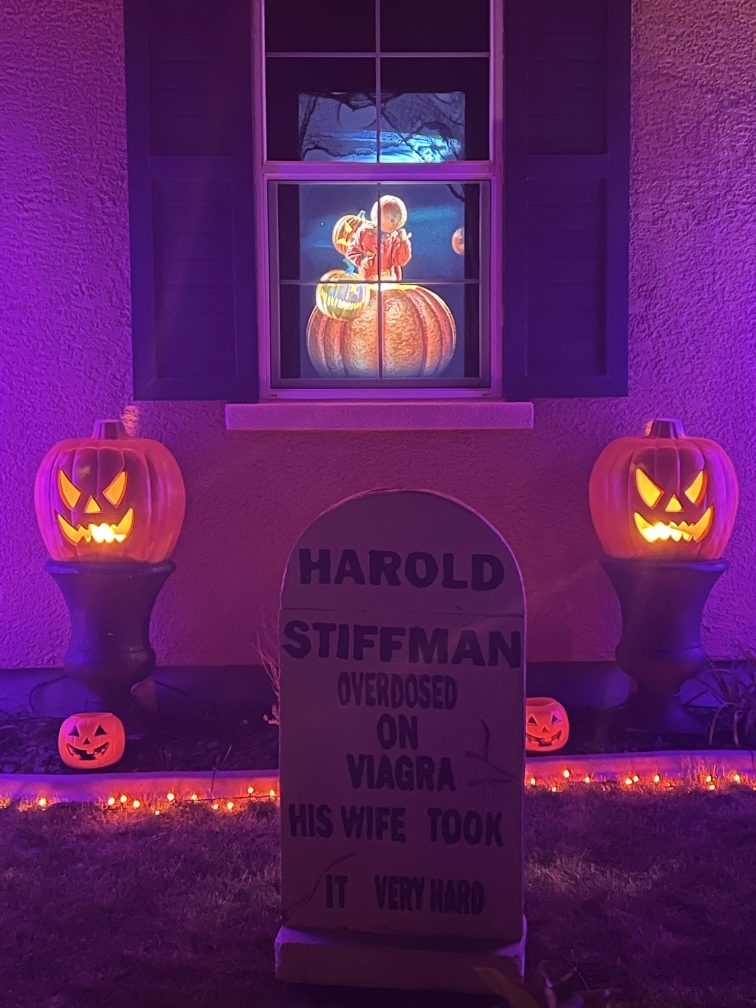
We used traditional painting and wet-brush techniques to fill in all the lettering, designs and cracks. We followed up with some dry-brush over different areas to give them some appearance of being weathered. The last thing we did to make sure they didn’t fall down, snap in half or blow away in our crazy wind, was to hammer longs lengths of rebar into the ground under each tombstone. The rebar extends up into the PVC pipes that run through the inside of each tombstone. They held up through some CRAZY winds so that was a nice win for us.