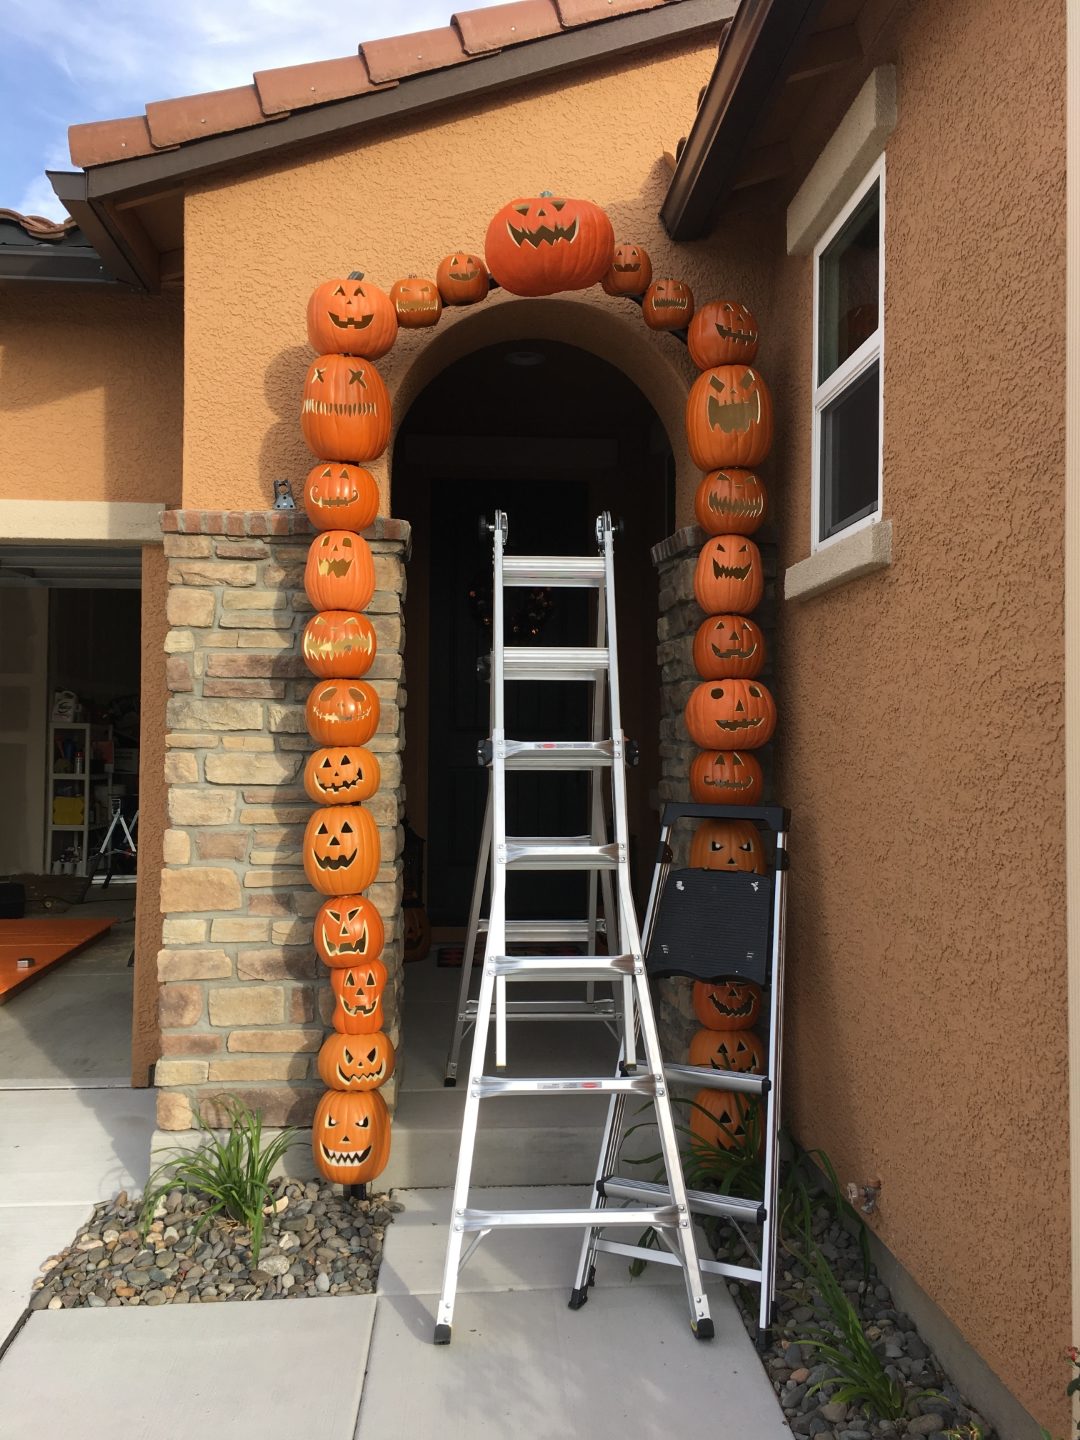
One of our most beloved decorations is our Pumpkin Arch that adorns our entryway to the house during our favorite time of the year. It’s a mix of carved foam pumpkins, many modeled after pumpkins seen in our favorite movies, and some off-the-shelf pumpkins. Every pumpkin has an internal light and all of the lights dance to music that we have playing inside of our entryway.
It All Starts Here
We built it to be as modular as possible. Using 1 1/2″ ABS pipe, the arch is built in three sections: the main arched top piece and two straight sections. It all uses couplings to fasten the sections together when on display. The wiring for the lighting is also divided into sections that connect once stood up. Being able to store this monster in three sections was a must for being able to keep it inside the garage.
Screw This!
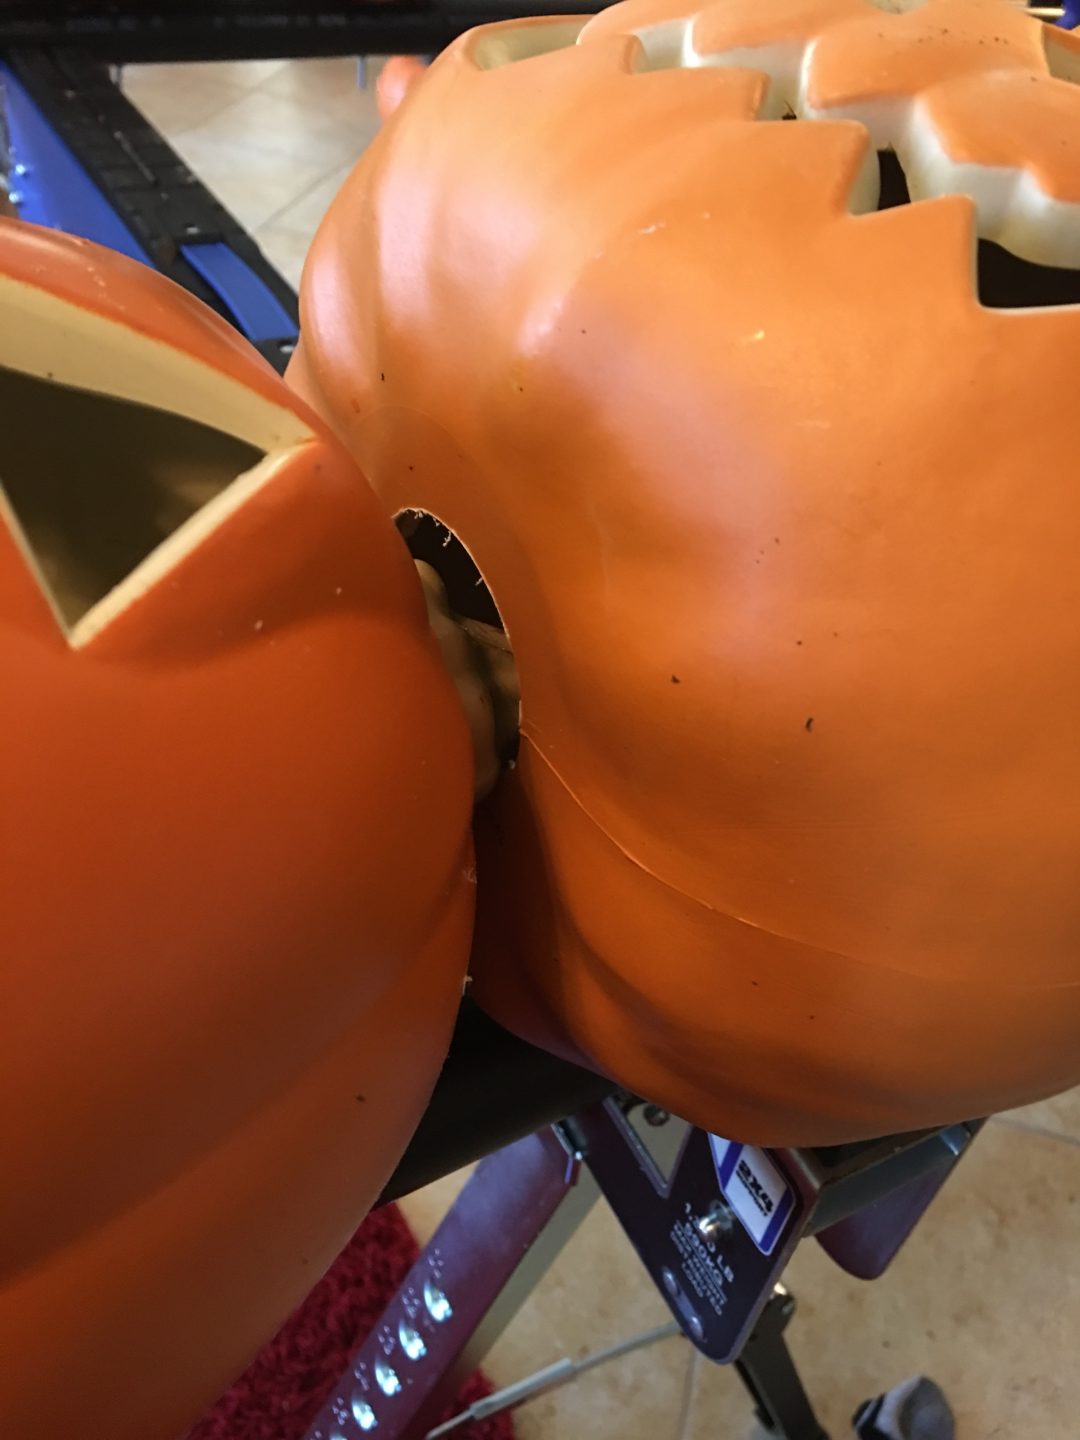
We tend to do a lot of our builds inside apparently. Thank goodness for easy to cleanup tile! Here I am using a very long drill and screwdriver bit to mount each of the pumpkins to the pipe. It took a lot of patience and a lot of dropped bolts to finally get these suckers bolted down. Each bolt has a large washer inside the pumpkin to give it more surface contact so the don’t just fall or rip right off of the bolt head.
Mess = Progress
Here is a lot of the mess I was making during the early steps. You can see that I also have some spade bits because I was putting a large hold in the back of each pumpkin to feed the lights into.
More Drilling
Another reason that I needed spade bits was that I needed to drill a large hole in the base of each pumpkin to hide the top of the pumpkin underneath it. We wanted them to sit flush and not have their tops showing.
Halloween Engineering
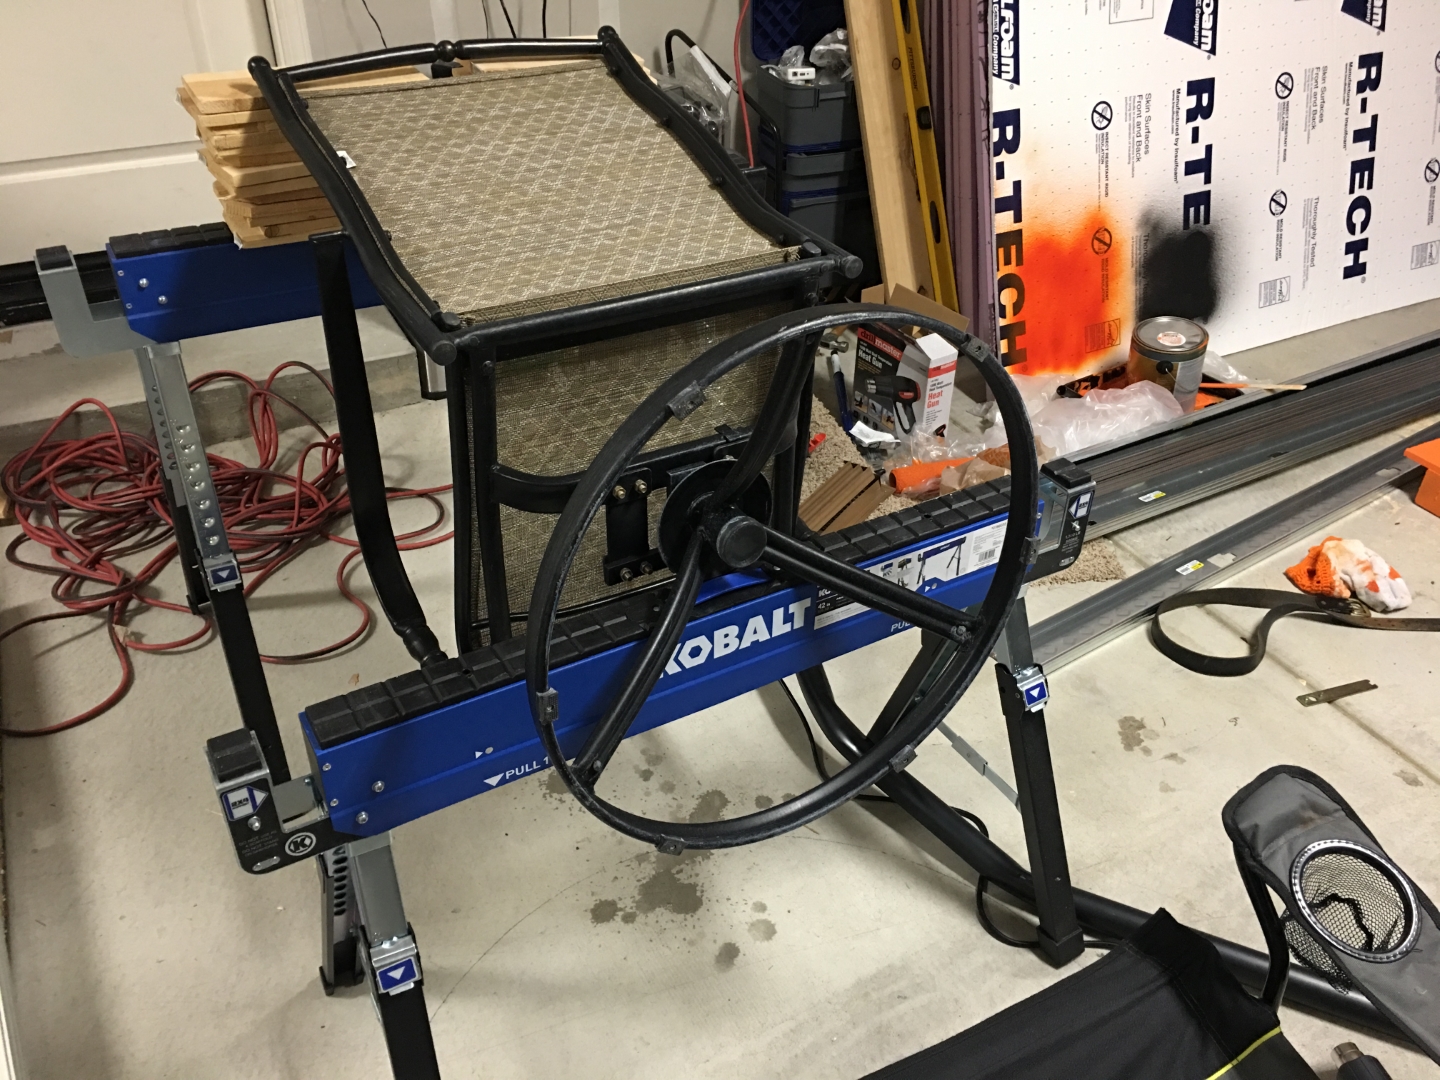
To form the arched curve of the topper, I would need to heat the ABS and bend it to a nice proper curve. I decided that if I heated the pipe over the round base of a lawn chair, I’d get a perfect shape. Well that didn’t work hardly at all. The heating was uneven so I ended up with more of a pseudo-melted-curvy thing. But it works and its ugliness is hidden by all of the pumpkins and some fake harvest leaves so who cares, right?
A Moment Of Excitement!
We were beyond excited to see our arch standing assembled for the first time! But since it can’t just stand on its own, we have more work to do. Since the bottom of each side is an open pipe, we drove two large heavy stakes into the ground and then slipped the pipes over the top of the stakes. This keeps the arch from falling forward but it really needs more stability at the top. These stakes won’t cut it by themselves.
The MegaHolder 5000
Not wanting to drill yet another hole in the house, we needed to come up with a way to make sure that the arch didn’t fall forward since it’s basically standing on stilts. Using some scrap metal stud material, I fabricated this U-shaped “thing” that would give me something to screw the top to and secure around the inside of the archway so it wouldn’t fall forward.
Still Had To Make Holes!
Here you can see how the brace holds the arch securely from tipping forward. I did end up putting some screws into the house to keep the brace from sagging downward and just to make sure this things wasn’t going anywhere.
Yes! Yes! Yes!
And here we have the arch not only standing but very firmly in place. I just need to feed the lights into the backs of each pumpkin and do a little cosmetic work and we can call this one done!
Faux-Liage
Sarah took a bunch of these great looking faux fall leaves to fill in the gaps and to cover the wiring and pipes. Here you can also see where the lights go into the pumpkins.
And Done!
Here’s the complete arch right around dusk. For whatever reason we don’t seem to have a closeup during the day so this is as good as it gets unfortunately.
Nighttime Awesomeness
And here’s a nighttime photo mixed in with a few of our other decorations. The arch really pops at night!