Once we decided to move our magnetic Wicked Woods silhouettes off of the garage, we needed something to dress up the garage during the day while paying homage to some of our favorite horror and Halloween movies. I didn’t get any of the early photos but the descriptions should tell the story easily enough since this is a very straightforward project.
It All Starts Here
What you don’t see here is the process of how the initial epitaph was made. Here’s a quick recap:
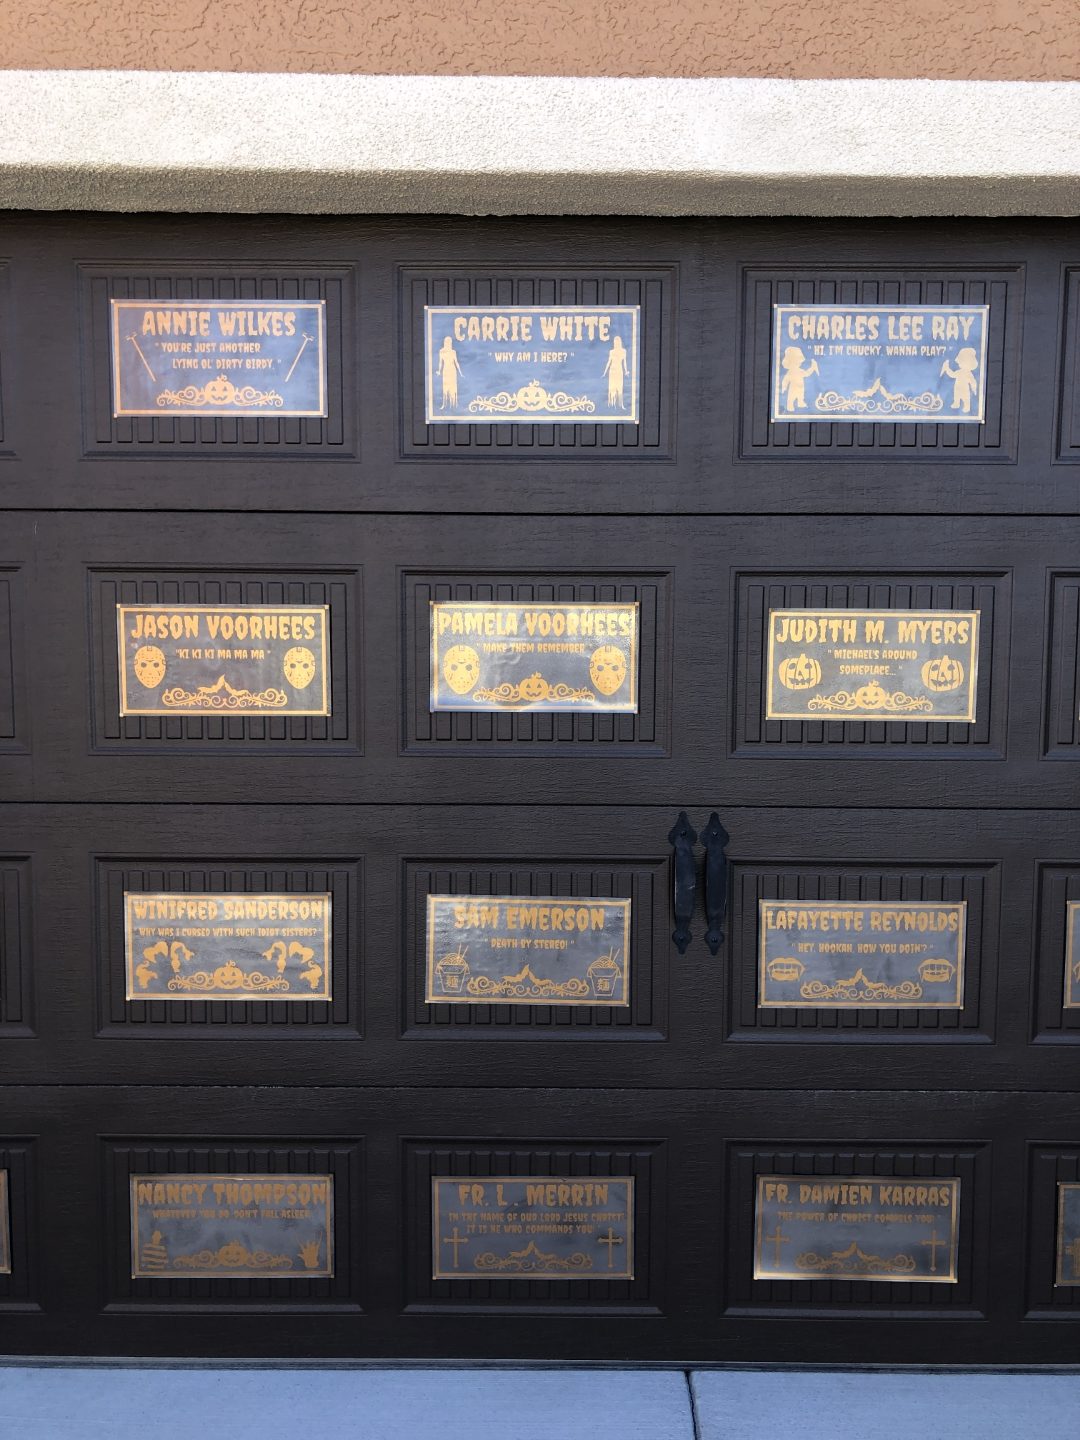
We came up with 32 characters to make epitaphs for.
We came up with a quote for each character, trying to get something meaningful from the movie they are in.
I came up with graphics to accent each epitaph and also added one of two bottom accents based on the character’s gender. Girls got pumpkins, boys got bats.
From here, the designs were created in the Cricut design software for our vinyl cutter.
The designs were cut out on a vinyl color to try to mimic brass.
The vinyl was then applied to magnetic household vent covers. These were the perfect size and shape and were sold in three packs at Home Depot.
We spray painted each vent cover with a hammered bronze color before applying the vinyl.
This entire process was very time consuming but in the end it was absolutely worth it. My only complaint is that the brass vinyl is hard to make out when the sun is directly on it. After the sun starts to set, it really pops.
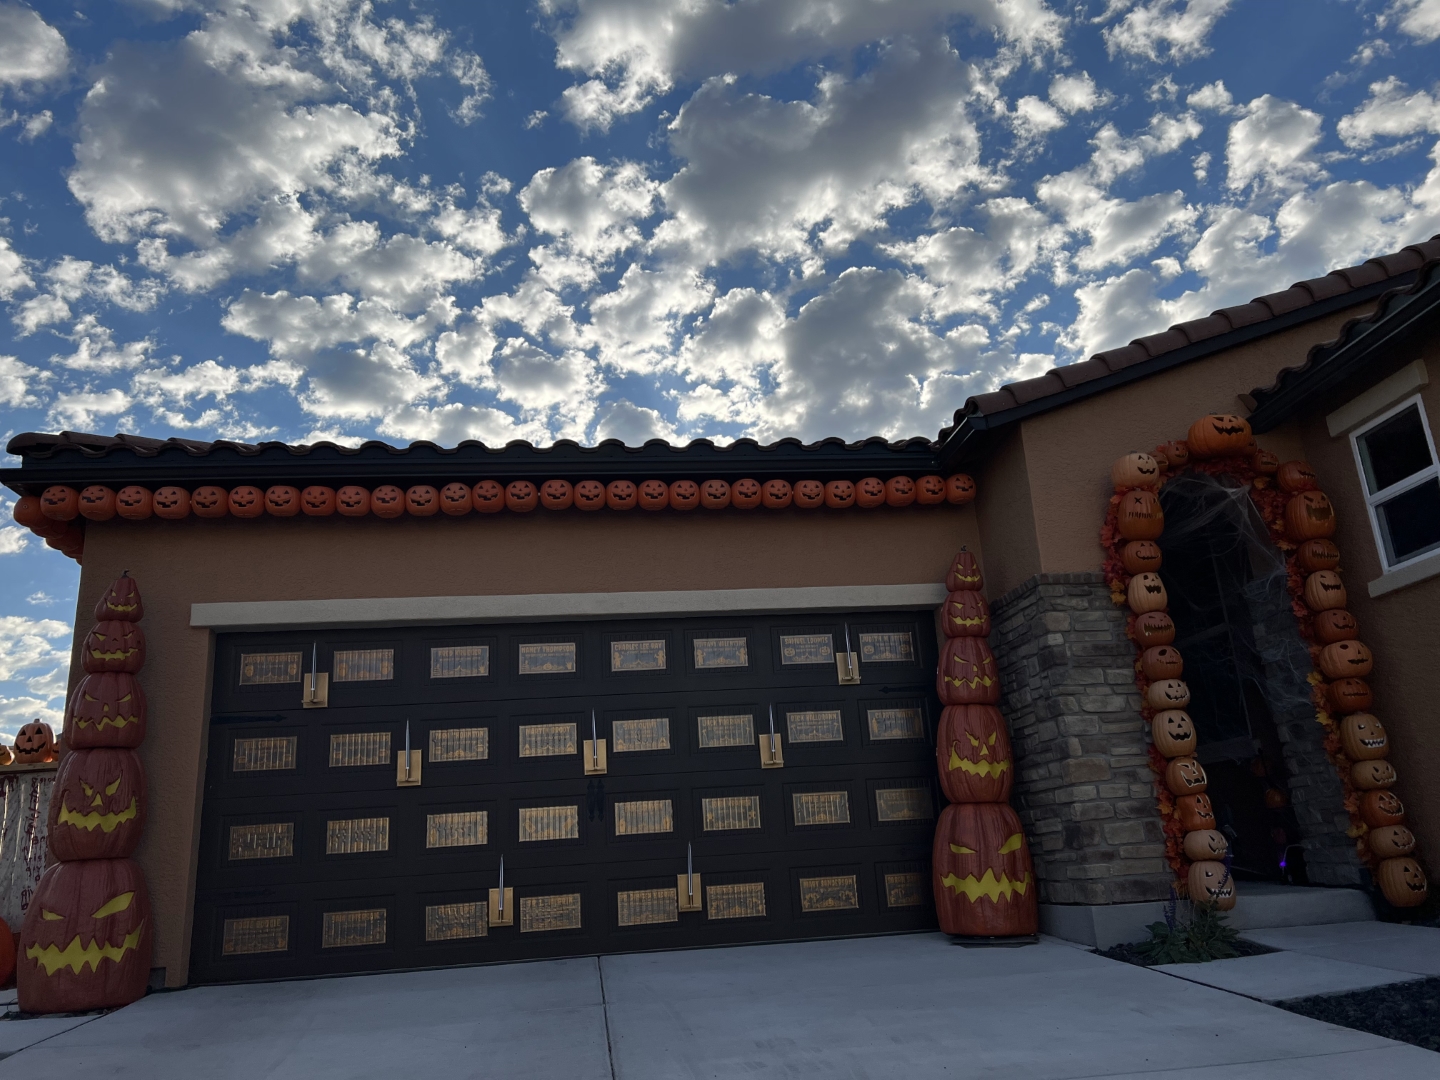
The Wall Of Gloom
Here’s a daytime photo of all of the epitaphs placed on the garage door. The time to set these up and take them down is one of the greatest things about going with this magnetic method. You will find us using magnets whenever we get a chance just because of how versatile and fast it makes positioning things.
Needs More Flair!
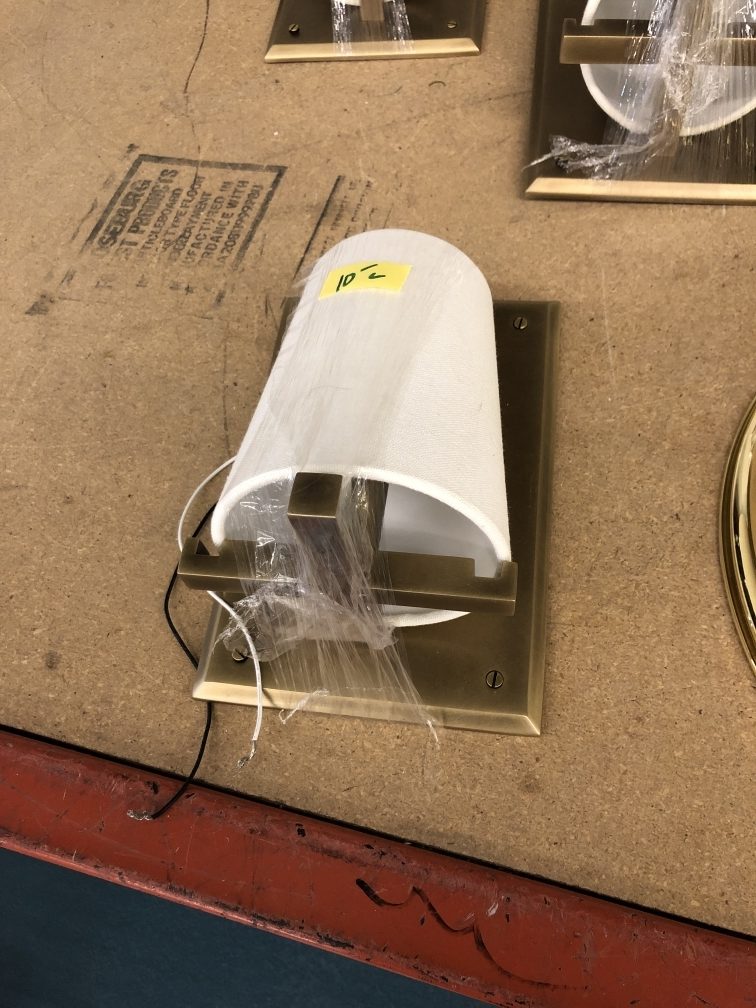
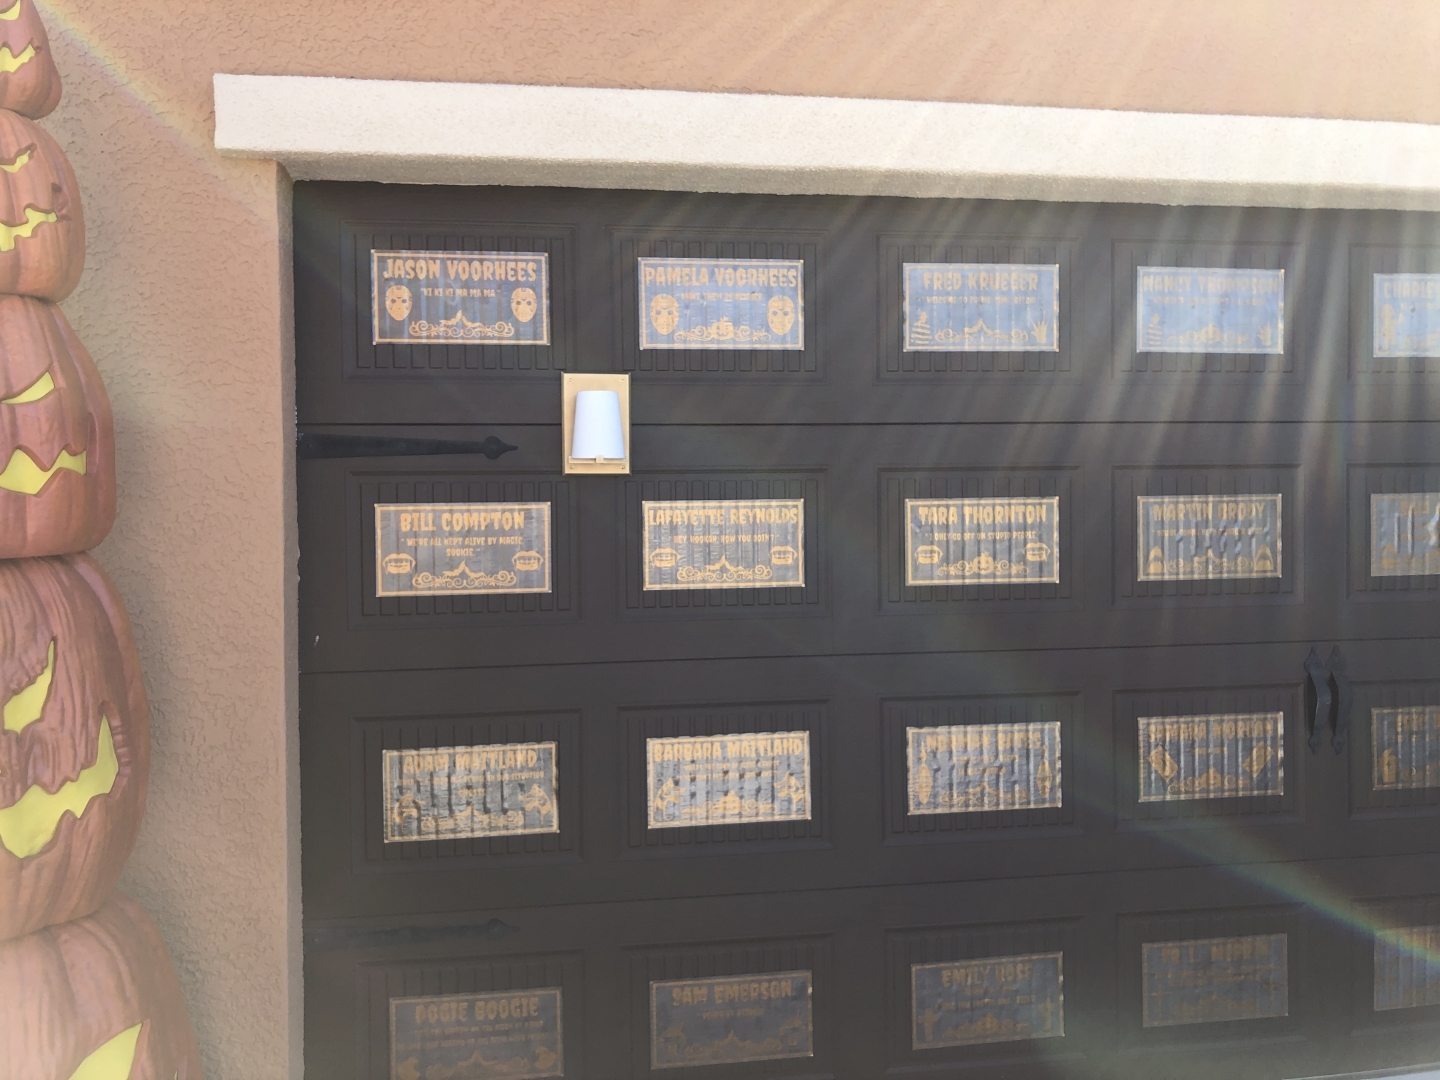
I stumbled upon these little brass light fixtures in a Habitat for Humanity store and knew they’d look great added to our epitaph display. Even better, it was 50% off day! So I got these very nice, solid brass fixtures for $5 a piece, knowing they’d look awesome.
Never Enough Magnets!
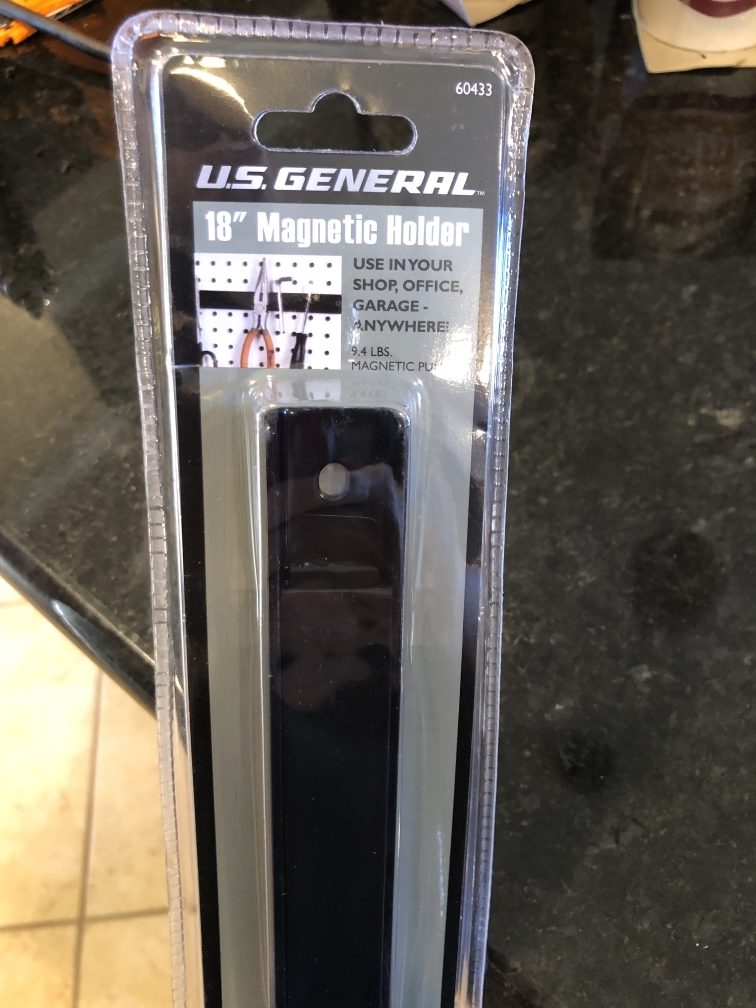
I usually use these magnetic tool holders from Harbor Freight when we need to add some magnets to a project. They are very strong and what makes it extra nice for this project is that the bars are actually made up from several magnets that are just covered in a black material. They are glued into the bar’s channel so a thin, flat screwdriver had them popping out so I could add them to the light fixtures.
Nah, Not Good Enough
The little shades that came on the fixtures are very nice but they just didn’t cut it for our display. We needed something with more Halloween vibes!
Yeah, That’s It!
We picked up these black and white striped LED candlesticks that had a base that would fit inside the light fixture (almost) perfectly. Perfect enough, as any good haunter would say! They are adequately bright for the effect we are going for, which is mere accent lighting, and the flicker effect really sells it.
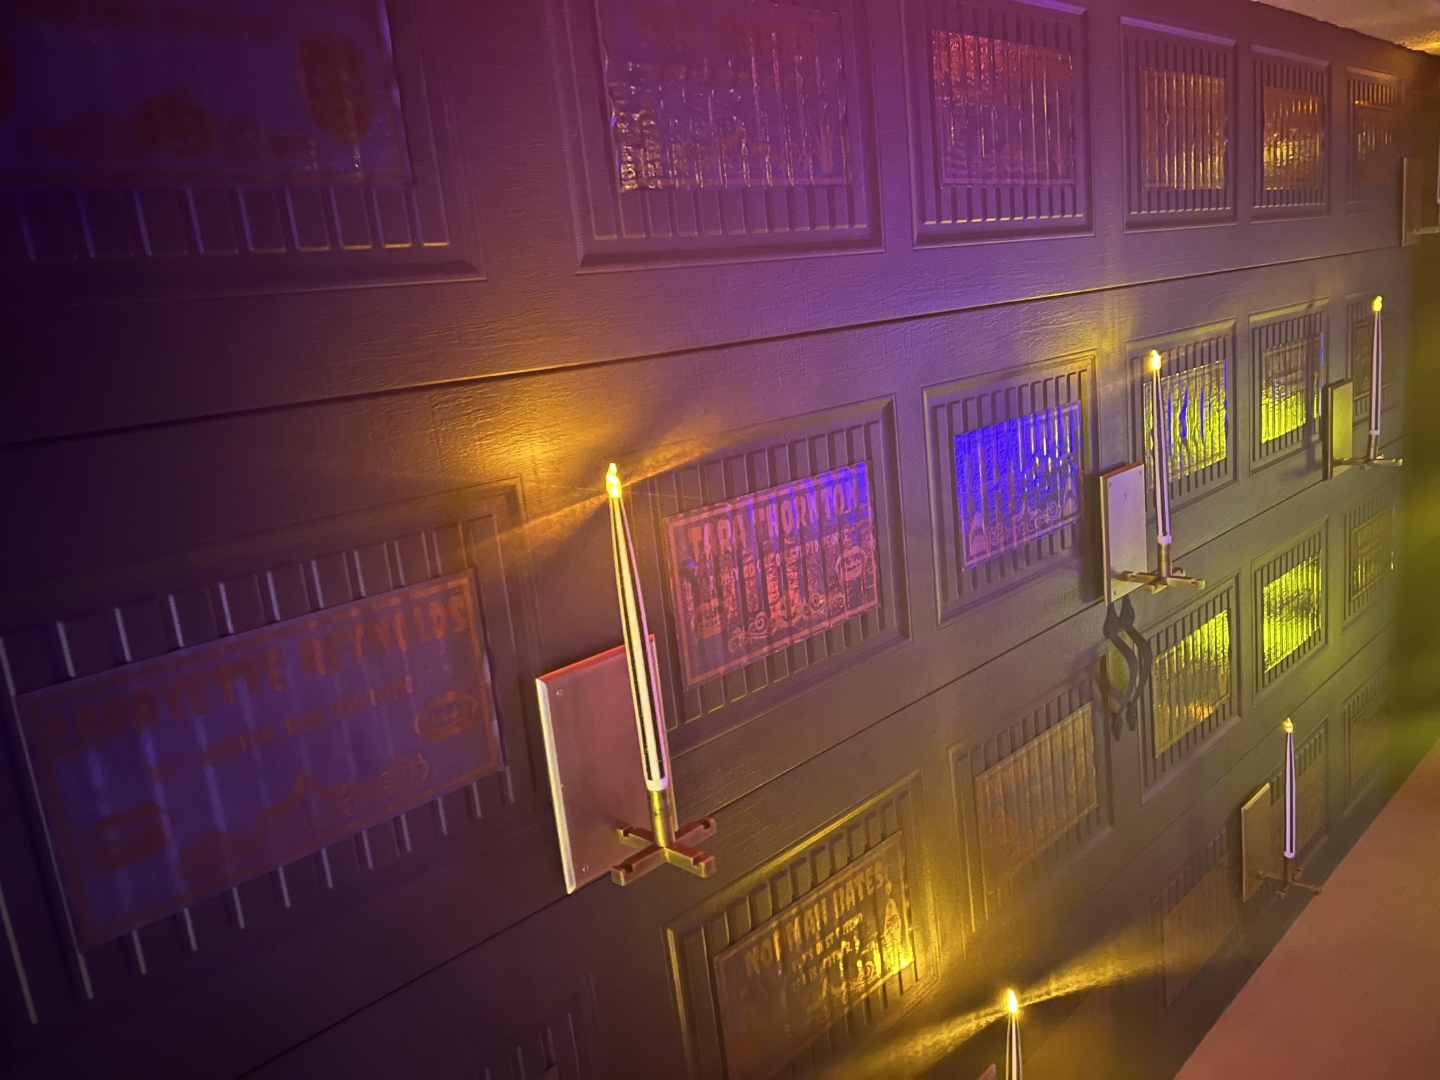
Eye Candy
Here’s a nighttime shot of everything lit up. You can see the candles on the epitaph display doing their thing. Gorgeous!
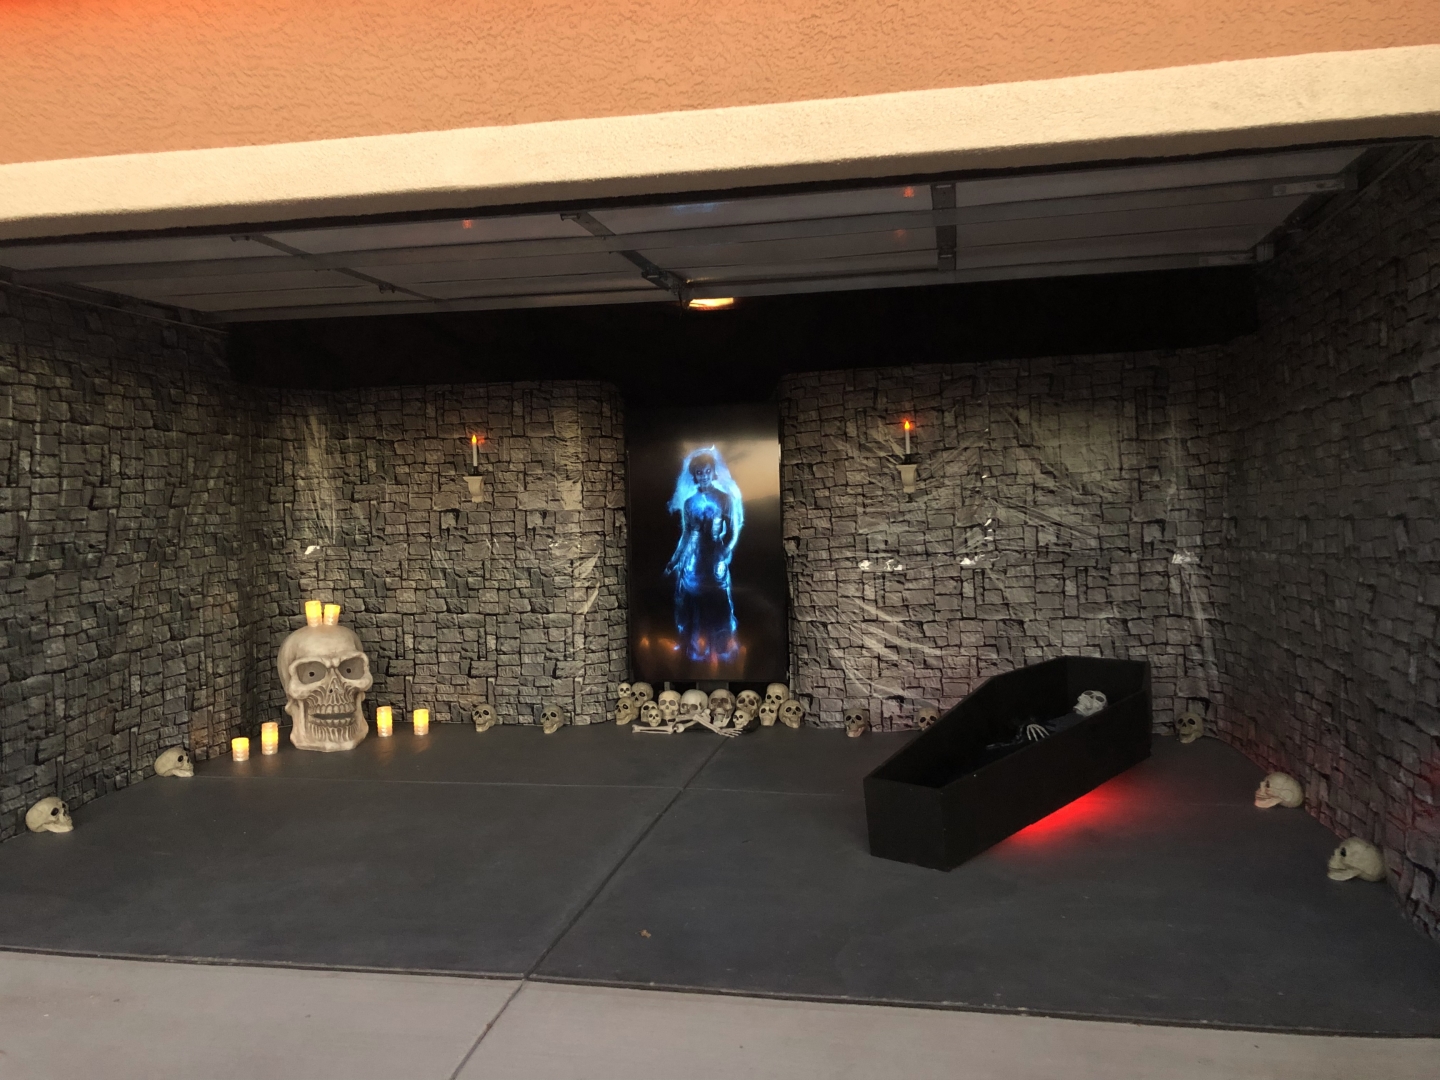
Terrors Await You Inside
Spoiler Alert For Another Project! We also wanted to add a tomb inside the garage because a tomb or crypt behind a wall of epitaphs is pretty fitting, right? It ended up being a lot more empty space than we anticipated but not bad for our first attempt. Check out the Tomb project page to get more insight as to what ended up going on inside here. There’s also a small video clip below that shows the reveal of the tomb when we open up the garage.